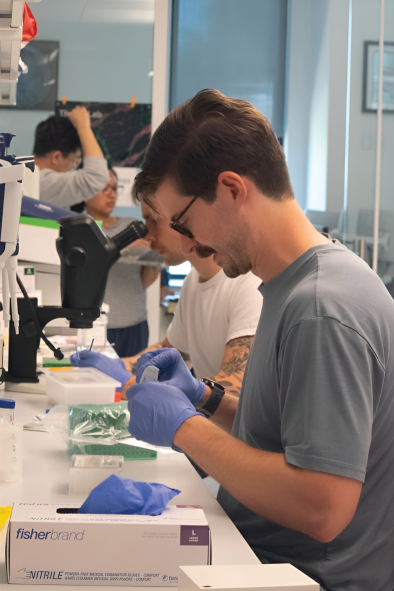
Each year, over 30 million students around the world dive into the realm of high school level science fairs, aiming to be one of the 1600 finalists that qualify for the prestigious Regeneron International Science and Engineering Fair (ISEF).
Unlike rudimentary experiments often depicted in pop culture, such as the iconic baking soda volcano, these students spend months on end, rigorously working on cutting-edge scientific research to tackle real-world problems.
When I initially began my science fair journey, I had no idea where to start. Most online resources were incredibly vague, and nobody had a clear guide on how to even approach competing at these science fairs. As such, I created this step-by-step guide to make sure that no aspiring scientist feels as lost as I did. This guide is designed to illuminate every step of the process, from your initial concept to your final presentation, helping you navigate through the complexities of science fair preparation and competition.
1. Find and learn more about your local ISEF-qualifying science fair.
Your journey starts with your local science fair. In Palo Alto, students are zoned to Synopsys Science & Technology Championship (science-fair.org). Each region across the world has its own path to qualify for ISEF, so your first priority should be understanding your regional competition and thoroughly reading the documentation to ensure you don’t miss any steps.
As a quick overview for Palo Alto High School students, approximately 950 students compete annually in the Synopsys Science Fair, with 119 students qualifying for the California Science and Engineering Fair, and 12 qualifying for ISEF. In addition to qualifying for subsequent science fairs, students also compete for a plethora of special and category awards. Success at Synopsys is crucial, as it is the only way that you advance to subsequent science competitions.
2. Find a problem that you want to solve, and formulate a research question.
If you ask any science fair competitor what the hardest part of their project was, this will likely be at the top of the list. At their core, the goal of a science fair is to allow students to develop new research to solve important problems currently present in society.
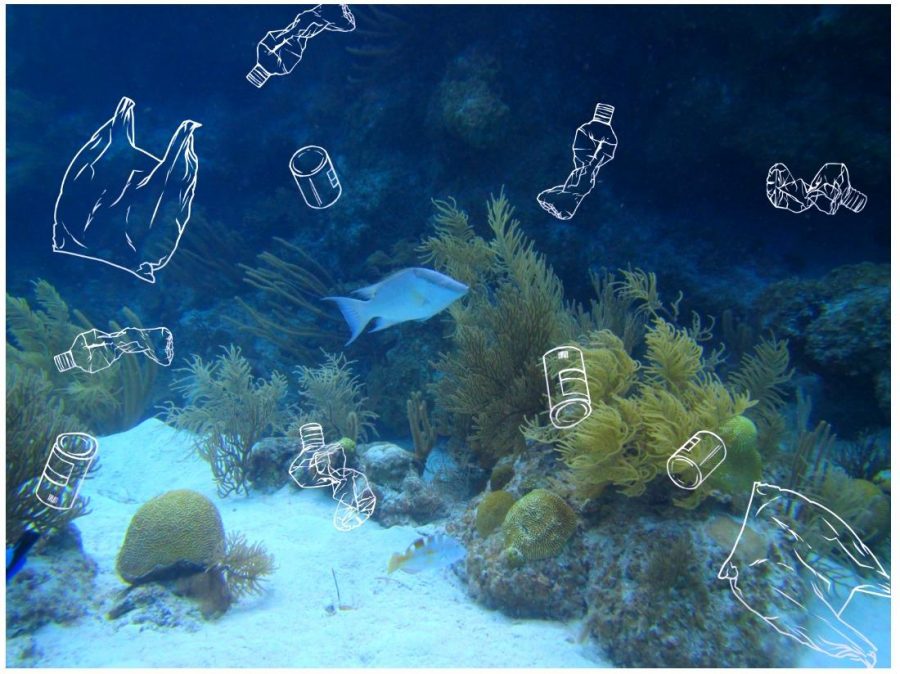
Choose an impactful topic that you are passionate about, as these projects can take several months. For example, in our ISEF-qualifying project, my partner and I decided to focus on preventing dental diseases. Some other winning projects focused on researching topics such as removing microplastics from water and treating dementia.
Once you have a problem in mind, work on some literature review (read through prior research) so that you can understand the current state of what exists in the field. Your primary goal is to read anything and everything related to your topic, noting anything that seems particularly interesting. These can be trends, gaps, and even interdisciplinary approaches (applying solutions from one field to another, such as AI in biology). Your Paly teachers are a great resource for this, as many have mentored students for these competitions in the past.
Finally, upon deciding on a problem, formulate an objective. This will detail the main goal of your project and should be a brief overview of what you aim to do.
3. Find a mentor and decide whether you want to work at a research institute.
In science fairs, mentors play an extremely important role, as they provide the first line of support for any student. Your mentor could be a teacher at Paly, a professor at a University, or even a professional working in a similar field as your project. A good mentor provides guidance on what you should be doing and how you can improve your work.
Here, you also need to decide whether you want to conduct your research at a Regulated Research Institution (RRI). An RRI generally covers any research conducted in a professional setting, where students have access to sophisticated equipment or guidance which isn’t available in schools. At the Synopsys Science Fair, RRI projects are judged separately from non RRI projects due to the stark differences in available resources. At ISEF, all projects compete on equal footing.
4. Register and Comply with fair regulations.
Before starting your project, registering and completing all prerequisite approval forms is critical for your project. For Synopsys, this includes both filling out consent and approval forms and possibly obtaining pre-approval for projects that involve human subjects, vertebrate animals, or potentially hazardous materials. These regulations are in place to ensure ethical standards and safety in research, and adhering to them is essential for your project to proceed smoothly. Keep in mind that all of this documentation and approval must be complete before you start your experimentation, so get this done as early as possible.
5. Begin your research
Once you have a mentor and full approval at registration, you can begin your research. Plan your research question and work iteratively to answer it. Everyone’s research journey is unique, so this is the component where you have the most freedom in framing your work. Work closely with your mentor, establish a plan of action, and work on your experimentation, keeping a detailed log of your results. This stage of your project is the longest, and is filled with trial and error – but it will define your results and validity of your work, so make sure to be thorough.
Data analysis is especially key here. Keep track of your graphs, take photos regularly, and keep any results organized. You will need to compare your work to any existing work in your final presentation, so preparing for it early through good record-keeping is especially important. By the time your research is done, you should have everything you need (photos, statistics, data) to create your competition poster board.
6. Design your poster board (and be concise)
Your poster defines your project and will contain every piece of information someone needs to understand what you have done. Concisely, your poster board contains information on the problem your project aims to solve, how your project solves it, and how it’s better than existing solutions.
A good poster will get to the point, and be very easy to understand. Remember, your judges both at local fairs and ISEF are volunteers, and they may not be fully knowledgeable about your project’s subject. To design your poster, look at previous ISEF posters, and use a tool such as Google Slides to design the entire page. Keep in mind that you will be presenting your poster from left to right, going down each column – so format your board in a way where your visuals don’t jump over folds, and columns fit between folds of the board.
ISEF allows a maximum height of 72 inches for your poster, with a maximum width of 48 inches. However, I strongly recommend staying much smaller than this, ideally with a traditional 36 by 48 inch tri-fold, unless you truly need the extra room to explain your project. Smaller posters are easier to see, less visually daunting for your audience, and are much easier to present.
Once you have fully designed your poster, you should print out the entire poster on one sheet of paper using a printing service such as PosterNerd or FedEx. This poster can be binder-clipped to a traditional cardboard tri-fold, making it easier to store and keep safe for the actual science fair.

7. Prepare for your fair
If you’ve made it this far, then it’s finally time to start preparing for your science fair itself. At this point, you should have all of your display materials, a detailed research log, your hardware prototype (if engineering project), all necessary forms, and any additional demo items.
Understanding the judging process is crucial to the success of your project. At a local fair, you will normally encounter three main interviewers: Special Award judges, Category Award judges, and Grand Award judges. Each of these judges serve a separate purpose, and must be approached differently. As such, you should prepare two main types of presentations.
The first presentation to prepare is the 2-3 minute overview. These presentations should be concise, easy to understand, and will be primarily used with special award judges. Special award judges solely determine the recipients of company sponsored awards (often monetary), and often have little background knowledge on very specific topics. The short presentation should clearly and quickly convey the importance of what you’ve done and why it merits recognition.
The second, and more important presentation to prepare is your 8-10 minute full project overview. This presentation is aimed at the category and grand award judges, and should be far more detailed, allowing you to delve into the complexities of your work and why it is important to your chosen field of science as a whole. These judges will be a lot more prepared for your project, and will determine whether you advance to subsequent competitions. Be prepared to answer an onslaught of questions, and be confident in your research (the hard part is already behind you after all).
Once you’ve prepared your project as much as possible, it’s time for the actual fair.
8. Be confident and endure the fair
It’s finally time for the fair itself. By this point, you should be an expert on your project, fully prepared to present and defend your work. Before judging day, you will get time to set up your board and run through Display & Safety inspection. Practice setting up your display at home, and run through a few practice presentations with friends and family so that setup day runs smoothly.
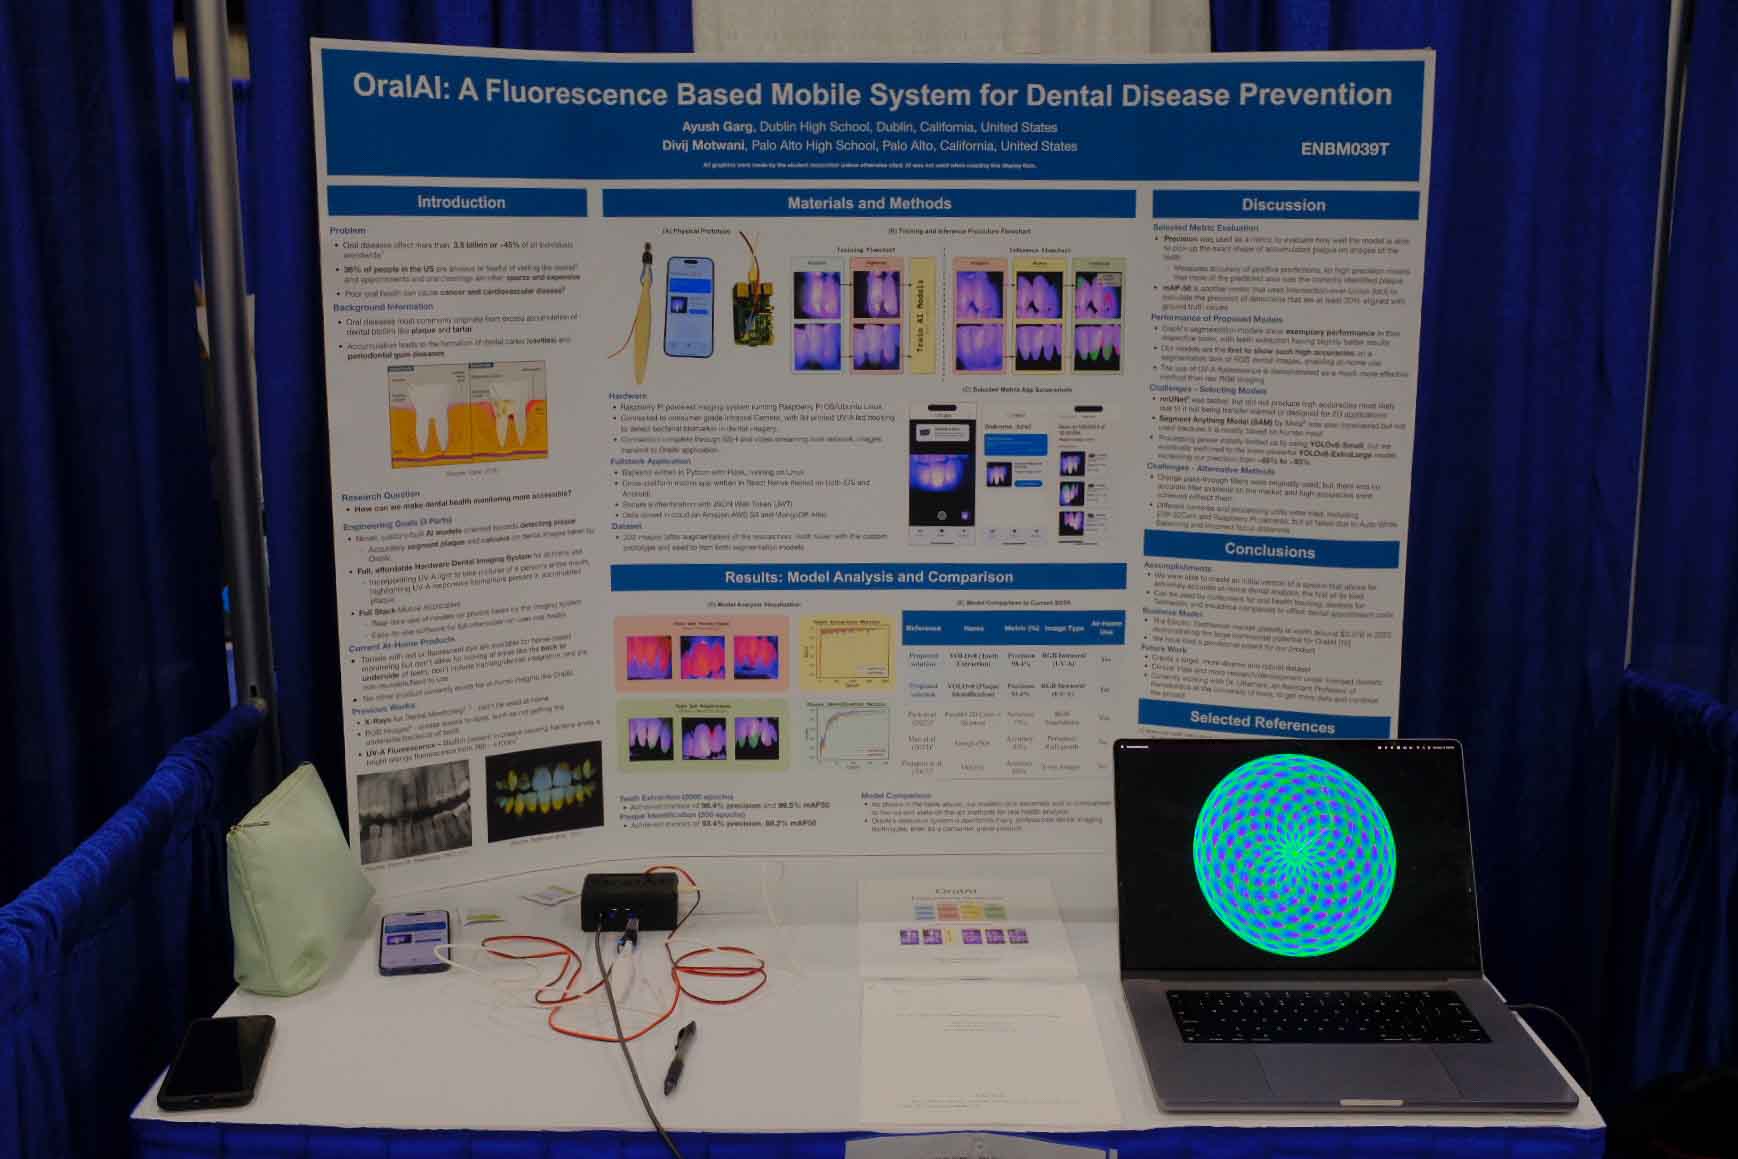
On judging day, make sure that you wear business attire with dress shoes. Judging typically lasts around four hours, during which time you will almost always be speaking. I highly recommend bringing a water bottle and drinking ample amounts of water to soothe your throat. (Don’t be like me and lose your voice toward the end of the fair!).
With all your preparation, judging day should be straightforward – no one can explain your project better than you. Approach this opportunity with confidence, knowing you are fully equipped to showcase your work. This is your moment to bring all your hard work to fruition. Good luck!


